How to Start a Beginner Pickleball Clinic at a Community Court
Plan a welcoming beginner pickleball clinic with practical guidance on court setup, safety, drills, rotations, and follow-up.
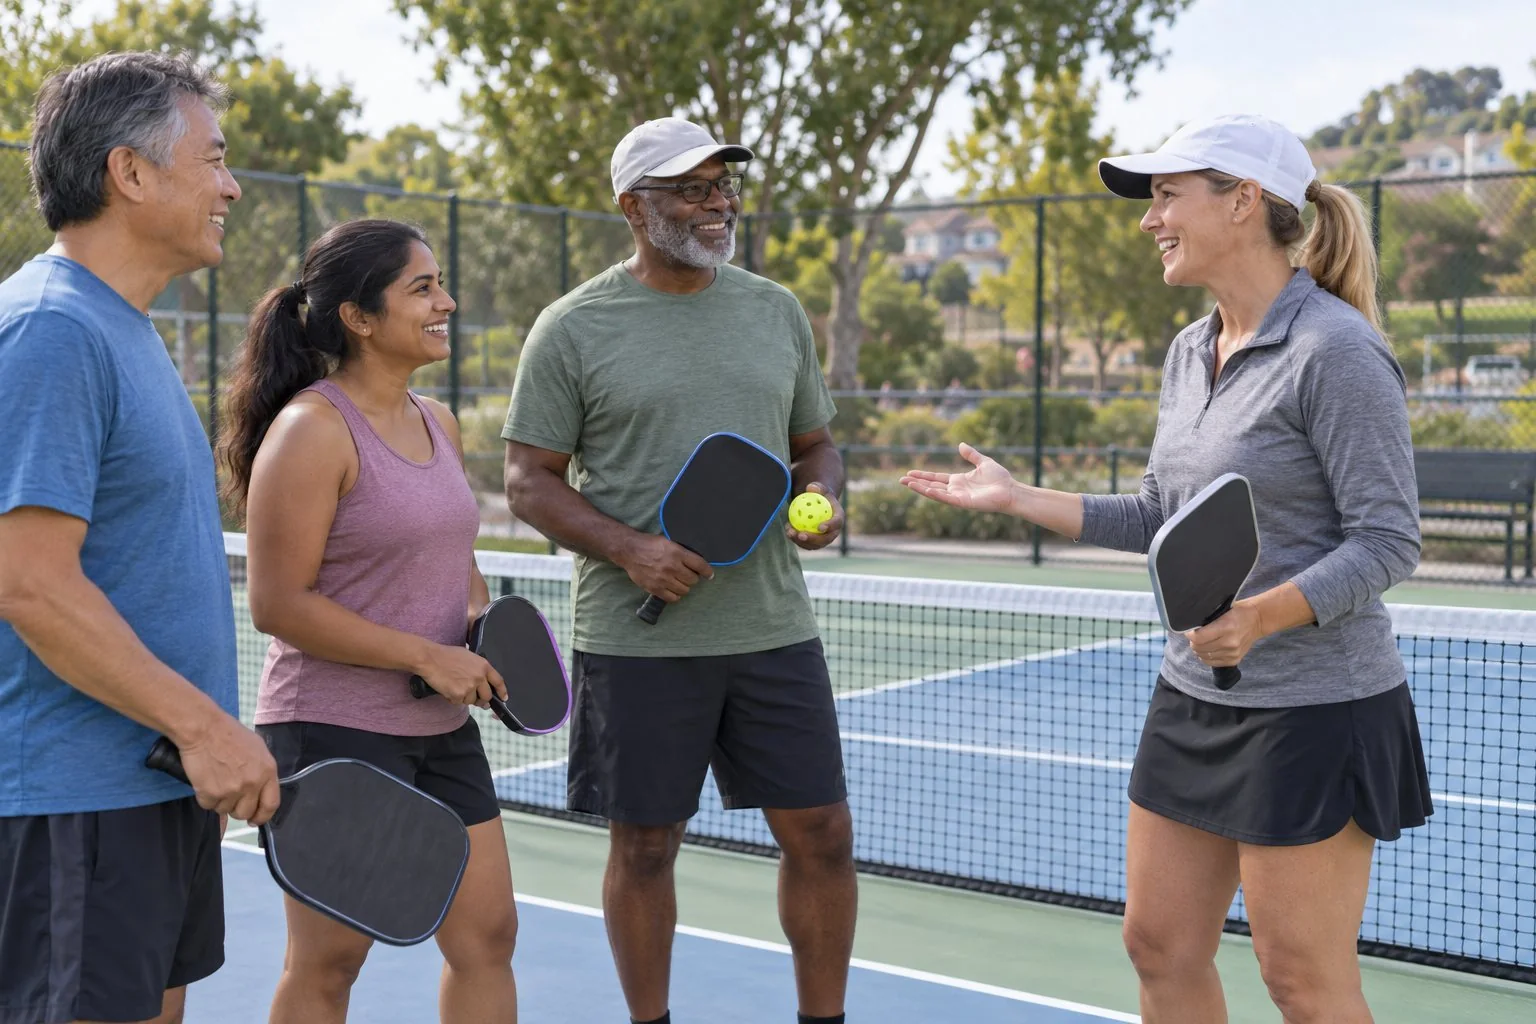
A good beginner pickleball clinic does not need a complex curriculum or a large budget. It needs a clear welcome, enough space for safe movement, and a simple sequence that lets new players succeed early. Whether you are helping a neighborhood group or filling a quiet hour at a public facility, plan the session around confidence rather than volume.
Start with the court and the welcome
Confirm the court booking, lighting, net condition, restroom access, and weather plan before advertising the session. Ask the facility whether paddles and balls are available, and state the group size honestly. Four to eight beginners per court is usually easier to coach than a crowd sharing one playing area. If more people register, use a second court or split the session into stations.
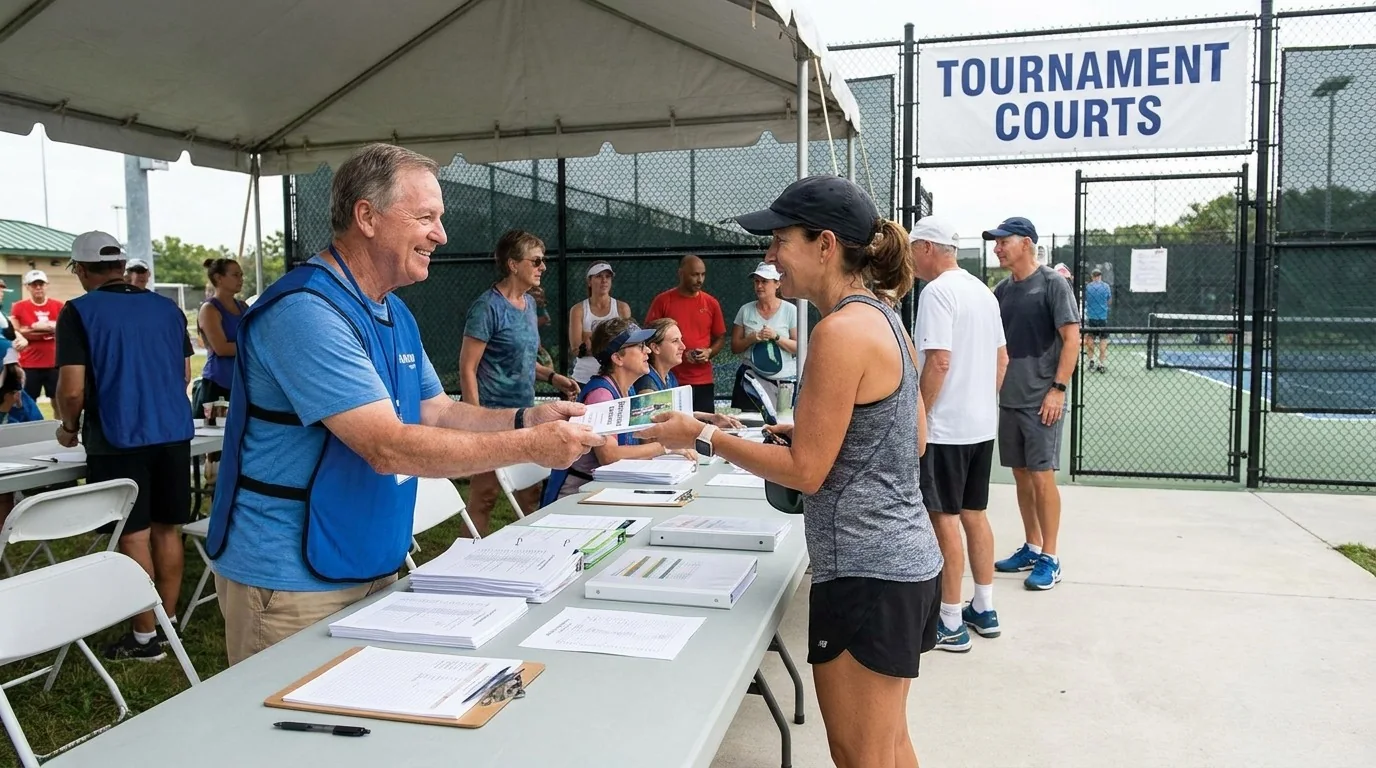
Send a short message before the clinic. Tell players what to wear, when to arrive, whether they should bring water, and that no prior racket-sport experience is required. A warm greeting matters: learn names, ask about injuries or mobility limits privately, and explain that mistakes are expected. Beginners relax faster when they know the goal is learning, not winning a tryout.
Open with court safety. Demonstrate how to carry a paddle, where to stand while another group is hitting, and how to call “ball” clearly. Keep spare balls out of walking lanes. Begin with a few gentle tosses and catches so everyone can feel the ball and paddle before adding a net.
Build a session that keeps everyone moving
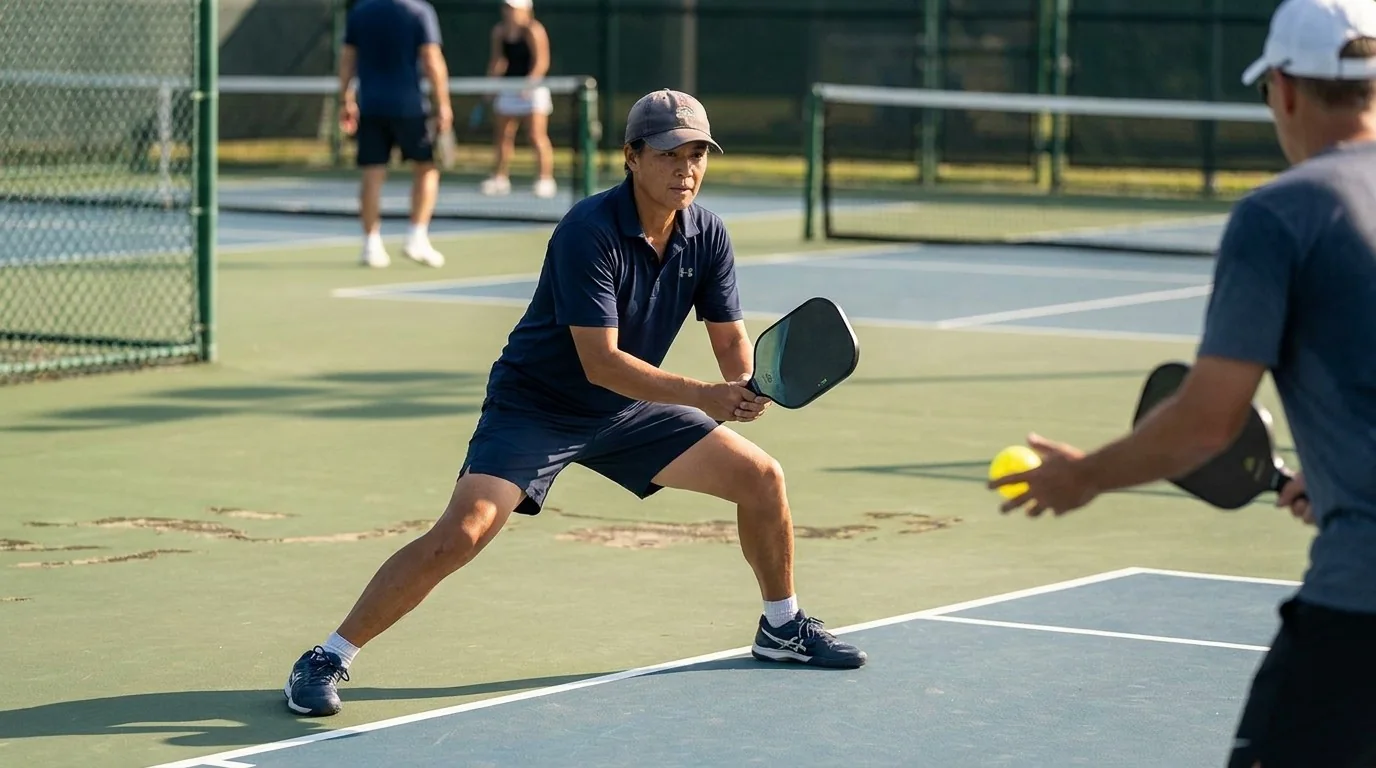
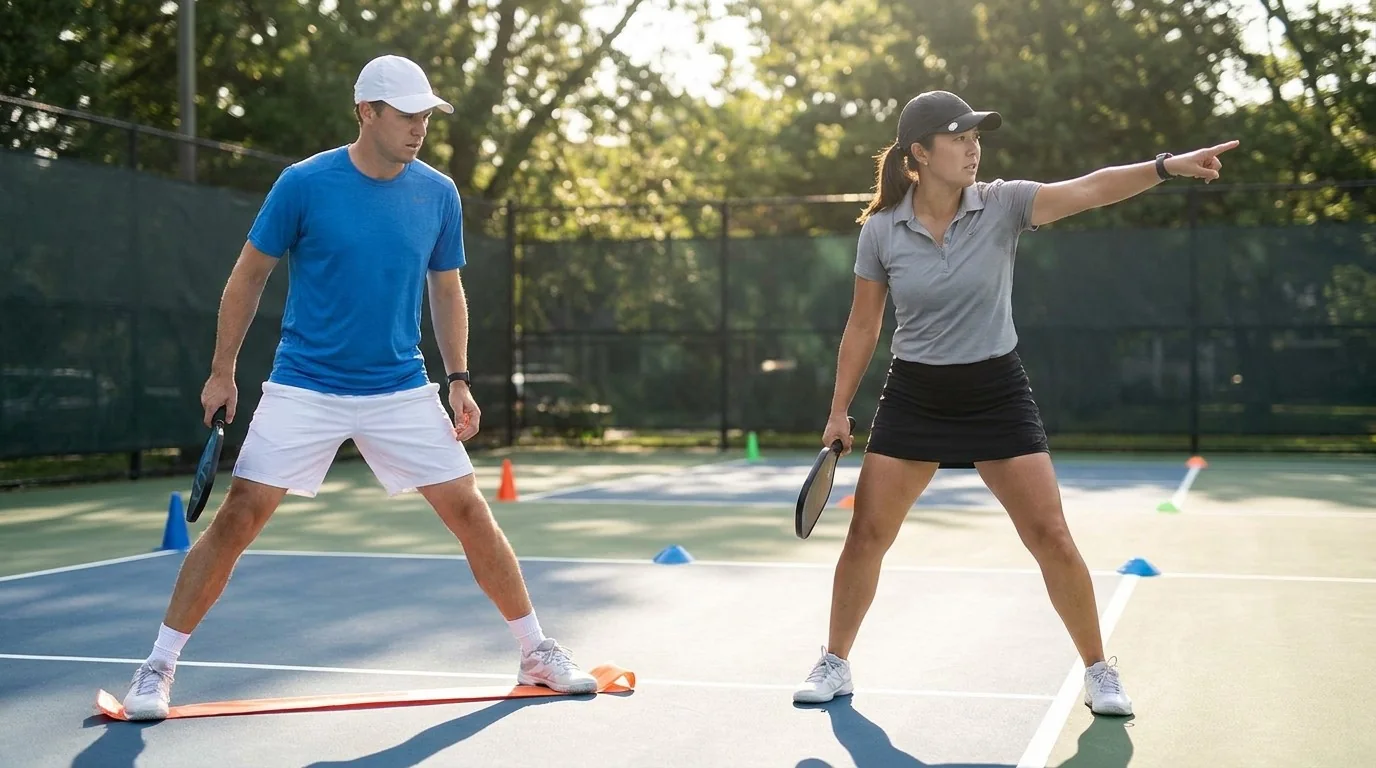
A 75-minute clinic can follow a dependable rhythm. Spend the first ten minutes on welcome, safety, and a brief explanation of the court. Use the next fifteen minutes for ready position, forehand contact, and a controlled underhand serve. Keep feeds slow and predictable at first. The instructor should watch contact height and balance instead of correcting every detail at once.
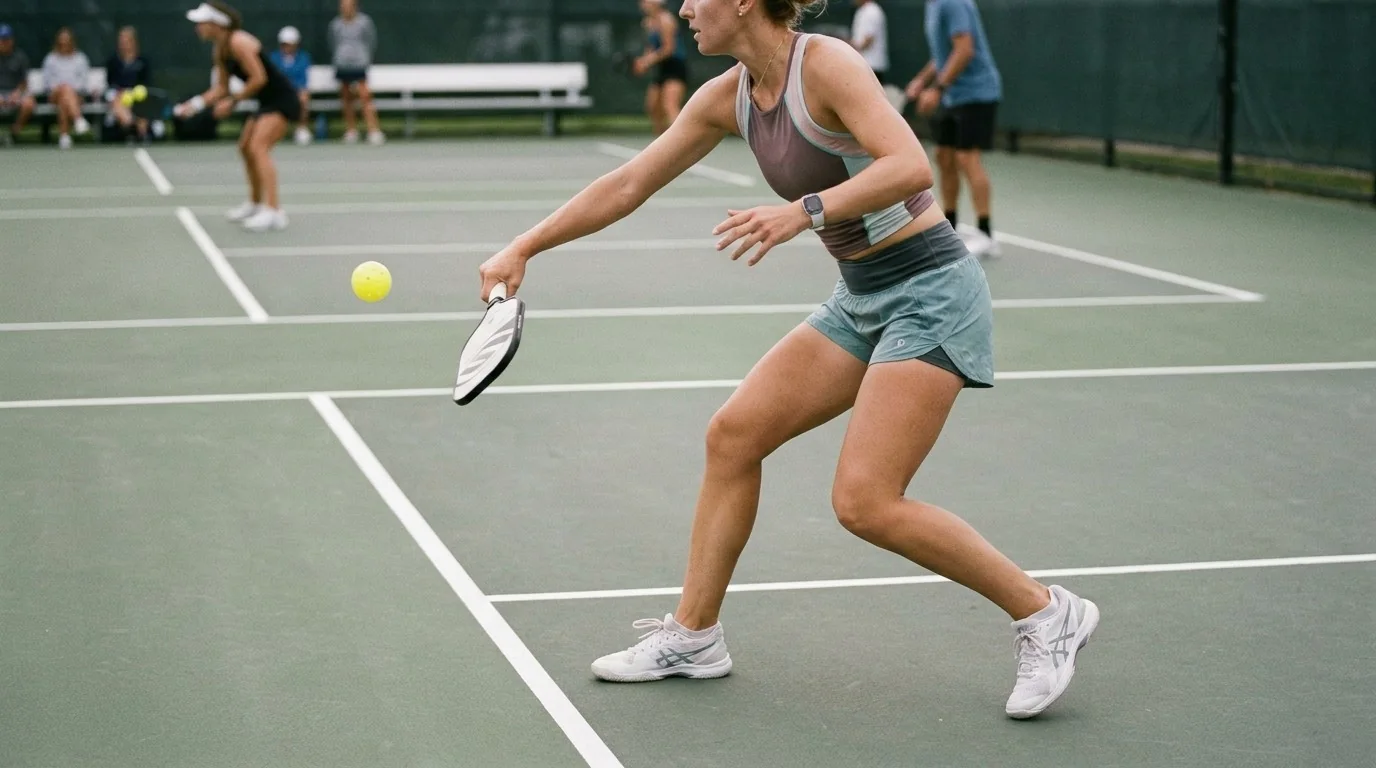
For the next fifteen minutes, practise the return with a partner. Ask players to aim high and deep enough to clear the net comfortably, then recover to a useful position. Rotate partners after a few minutes so no one feels stuck with one pace or one level of confidence. Use encouraging language such as “higher,” “softer,” or “move your feet” rather than a long technical lecture.
Dedicate another fifteen minutes to the two-bounce sequence and the non-volley zone. Mark where players should wait, and let them rehearse a bounce before moving forward. Avoid rushing beginners into fast volleys. A cooperative rally game is more productive: award a point for three controlled contacts, then raise the target to five.
Finish with short games using simplified scoring. One player serves, the receiver lets the ball bounce, and the group pauses after each rally to reset positions. If the court is busy, use timed rotations instead of winner-stays-on. That gives every learner comparable court time and prevents the strongest player from dominating the session.
Make the clinic repeatable
After the session, ask one practical question: what felt confusing or uncomfortable? Use the answers to adjust the next clinic. Keep a small equipment checklist, a sign-in sheet, and a waiting-list process. Share one skill for home practice, such as shadowing the ready position or softly tapping the ball upward with the paddle.
A welcoming clinic grows through consistency. Start on time, explain one idea at a time, and celebrate a rally that shows control even when the score does not matter. When beginners leave knowing where to stand, how to move safely, and what to practise next, the community court becomes easier for them to return to.