Technique
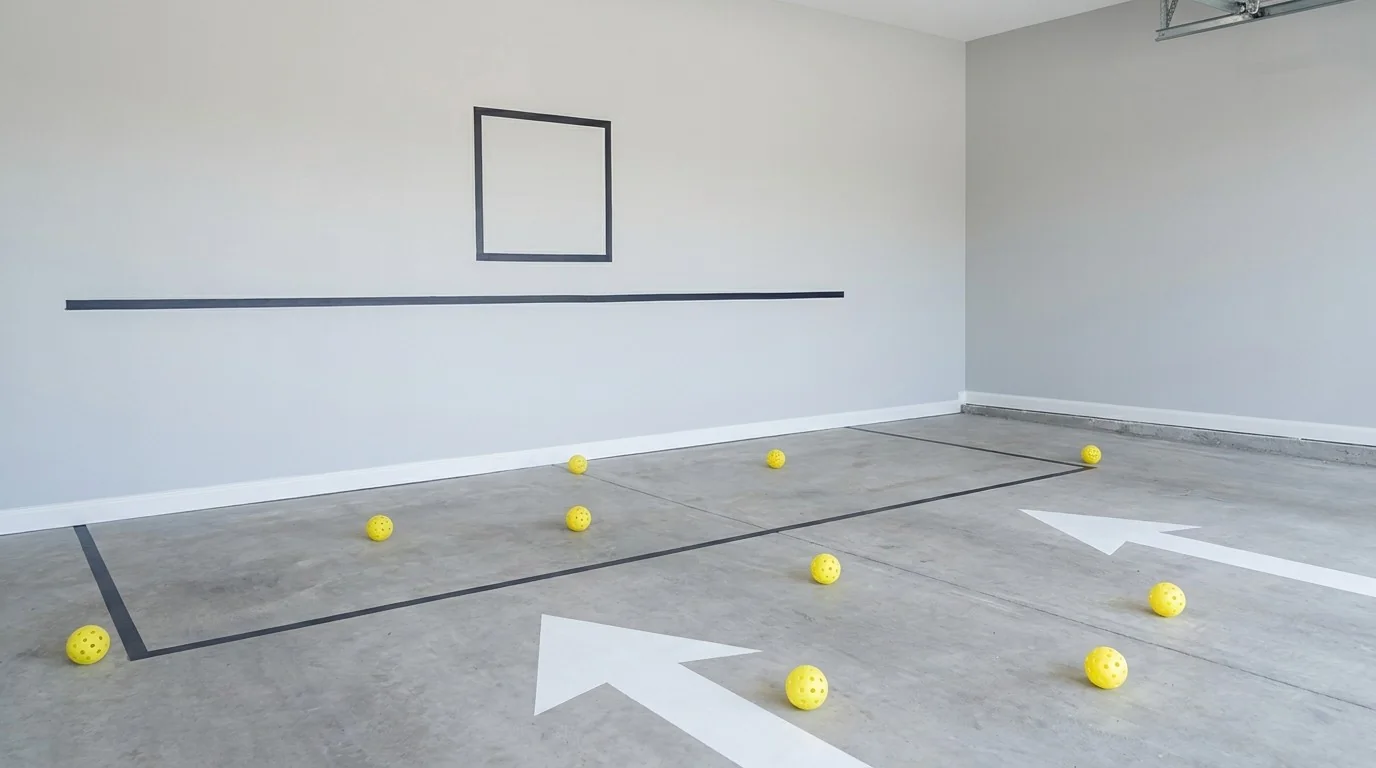
Pickleball Wall Practice Setup: Mark Net Height, Distances, and Targets
A practical solo wall-drill plan for pickleball: set up useful reference lines, train touch and volleys, add footwork, and measure controlled contacts.
A practical solo wall-drill plan for pickleball: set up useful reference lines, train touch and volleys, add footwork, and measure controlled contacts.
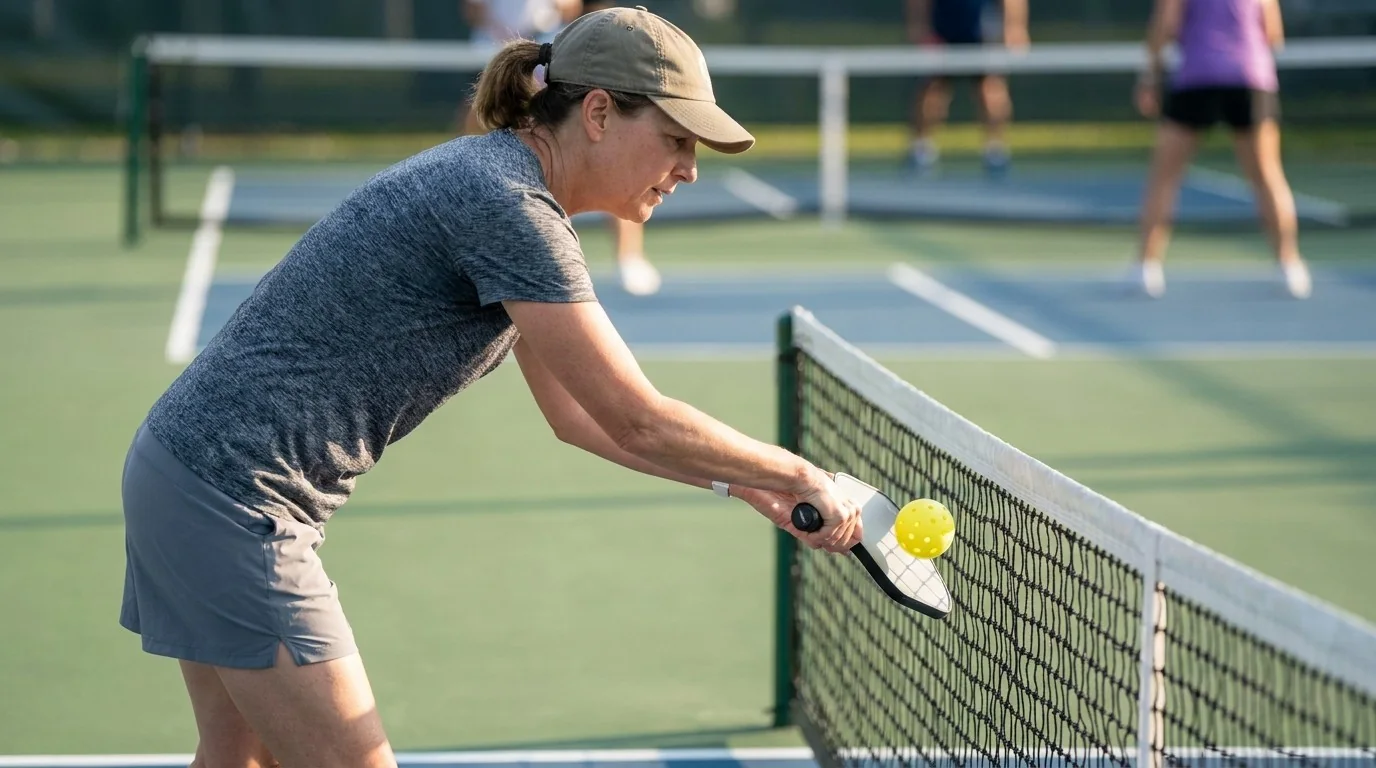
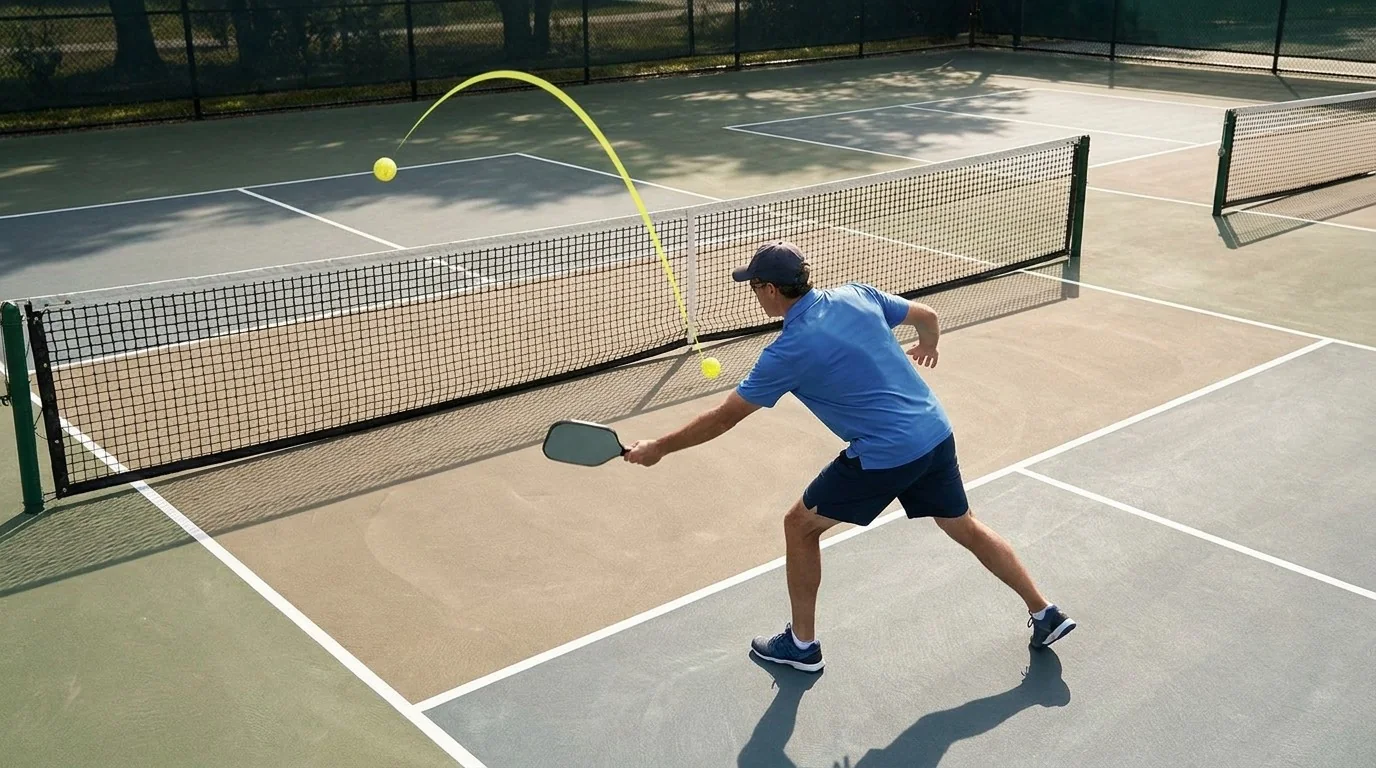
A practical guide to pickleball dink height: build net clearance, control the arc, vary kitchen targets, and practise without giving away an easy attack.
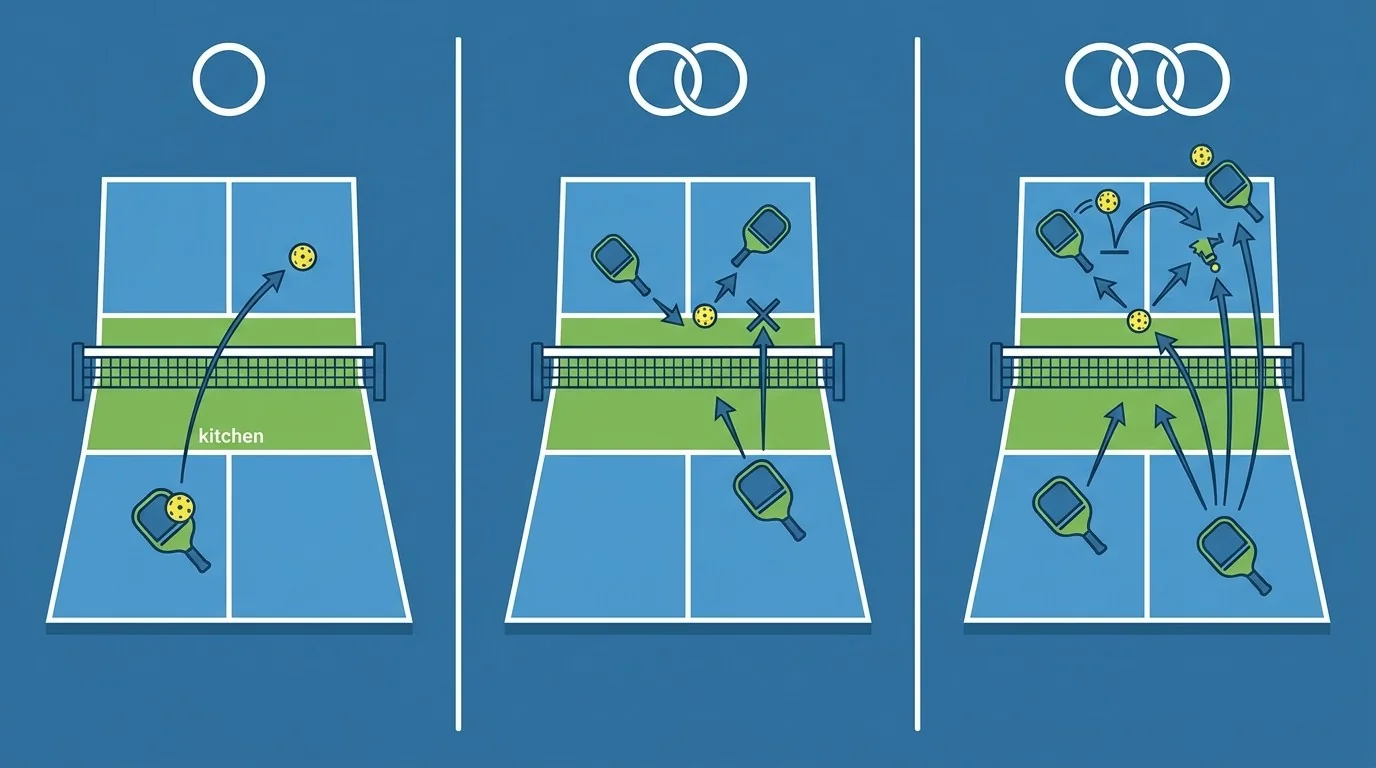
Use a simple progression to select one pickleball skill, train it with purpose, and confirm that it holds up when rallies speed up.
A practical guide to the pickleball reset angle: lift low balls, avoid pop-ups, absorb pace, and recover ready.
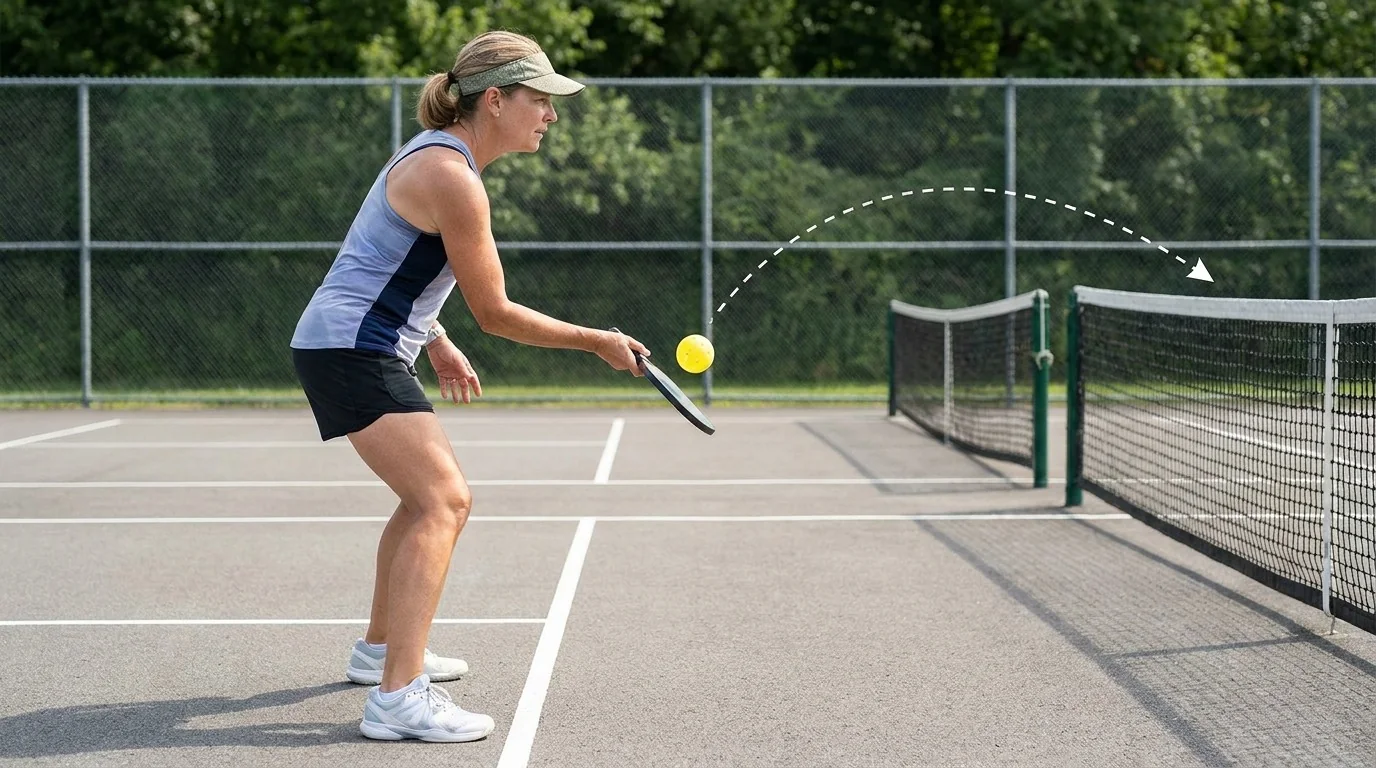
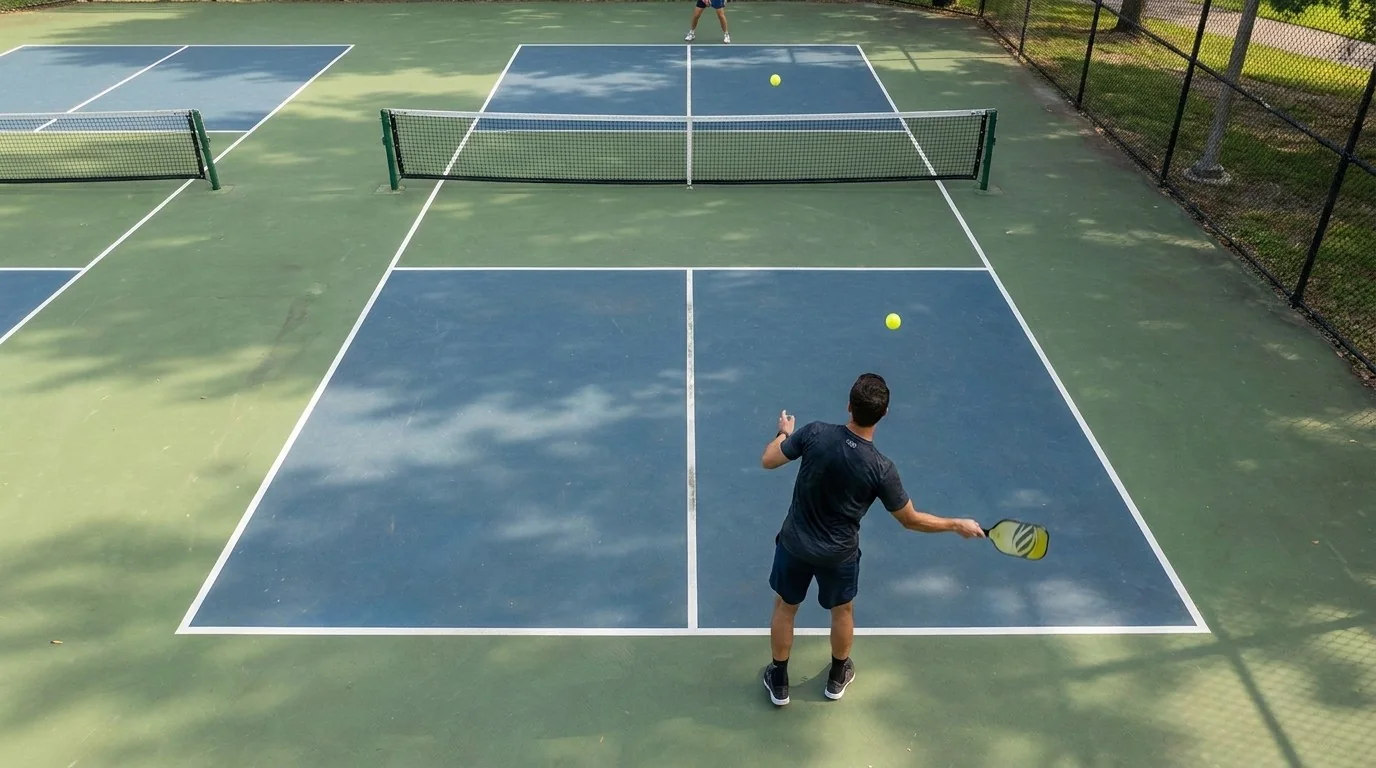
Learn how to set a repeatable pickleball serve stance, create a contact point in front, and practise accurate diagonal placement.
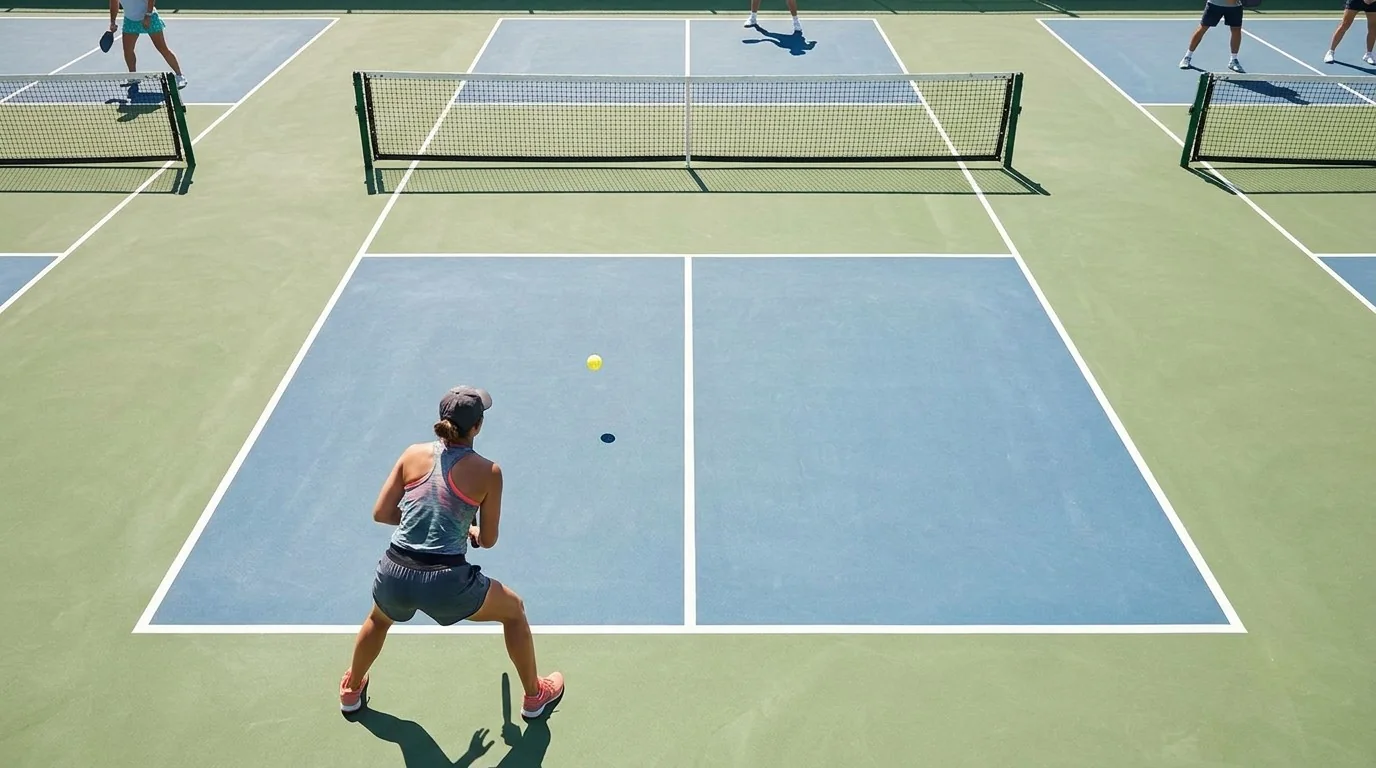
Read the bounce, set your feet, and choose a controlled pickleball response instead of reaching or deciding too early.
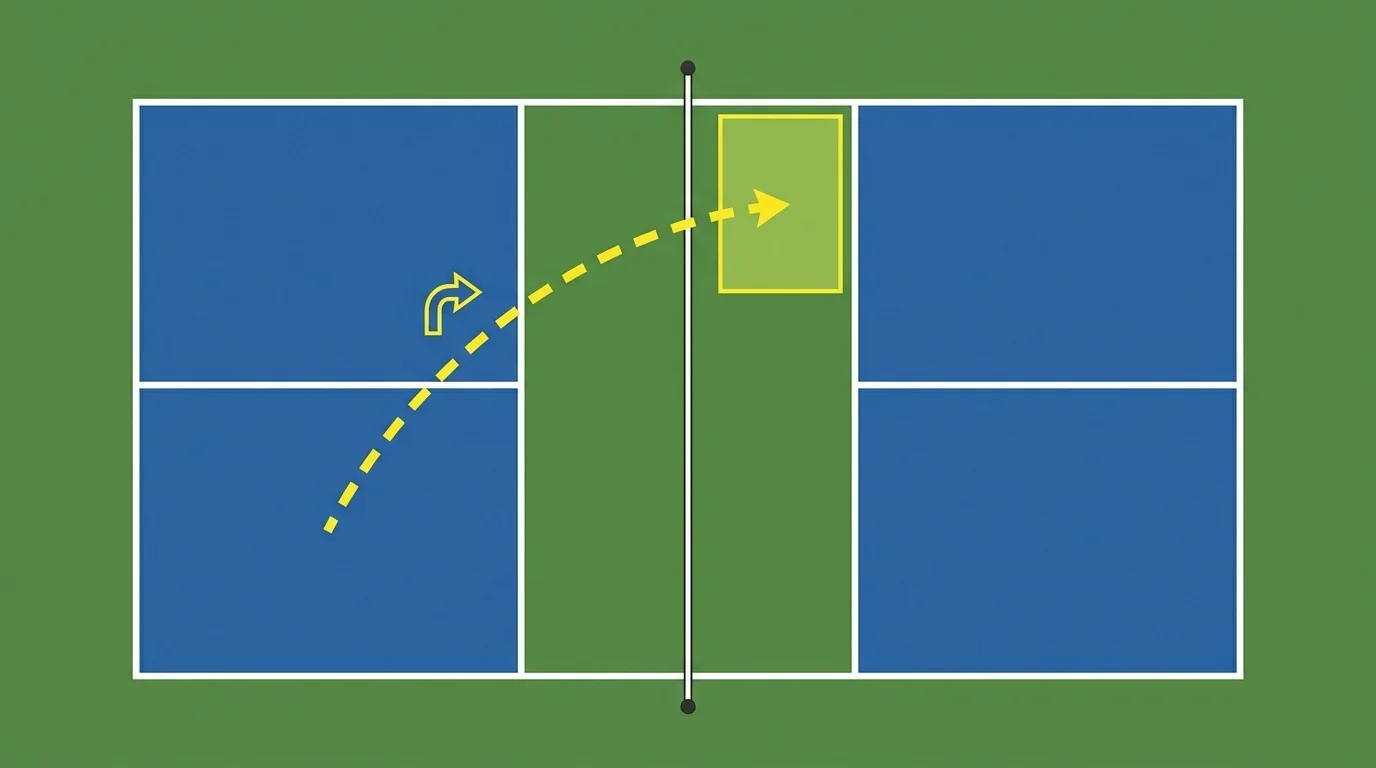
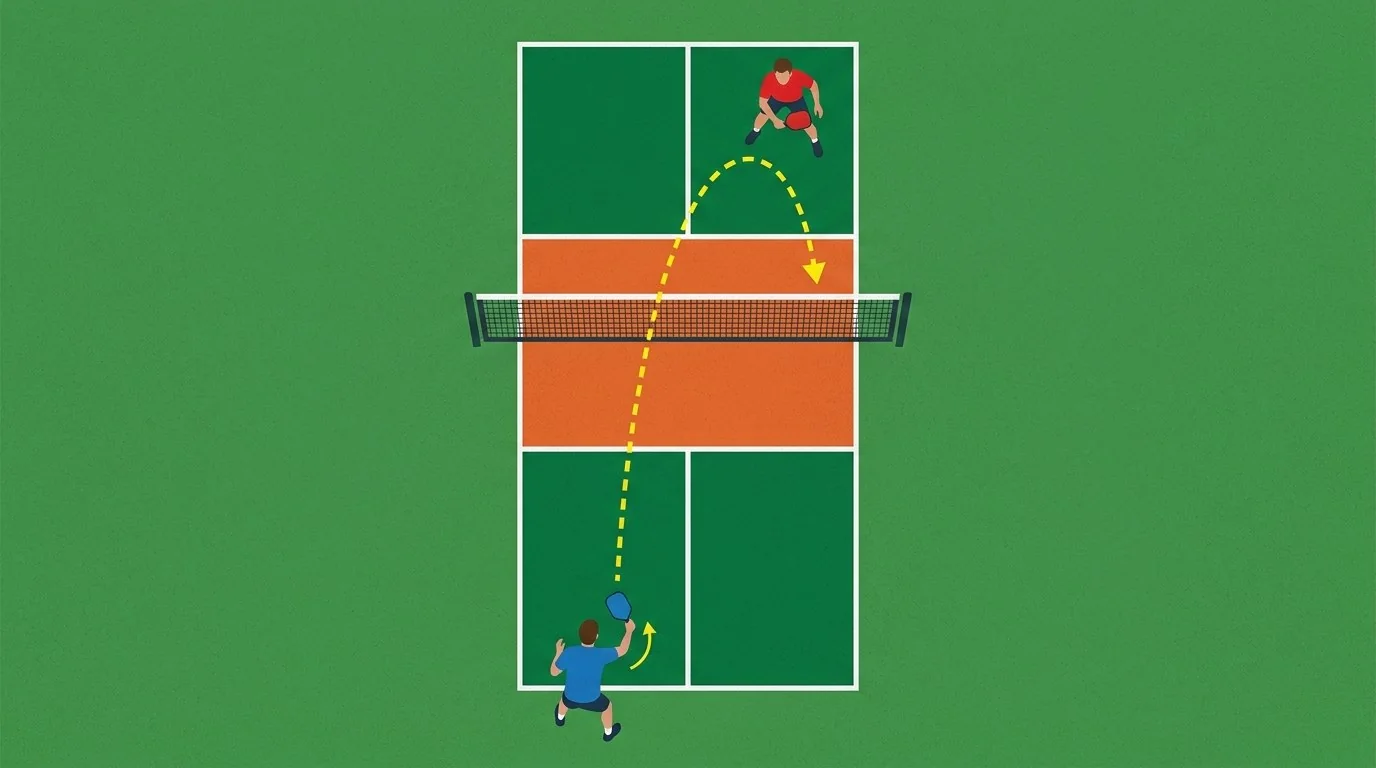
Build a safer pickleball drop by prioritizing net clearance and a descending arc before chasing depth, then add compact contact, recovery, and drills.
A practical guide to the pickleball returner split step: choose deep return targets, make balanced contact, move forward safely, and practise under pressure.
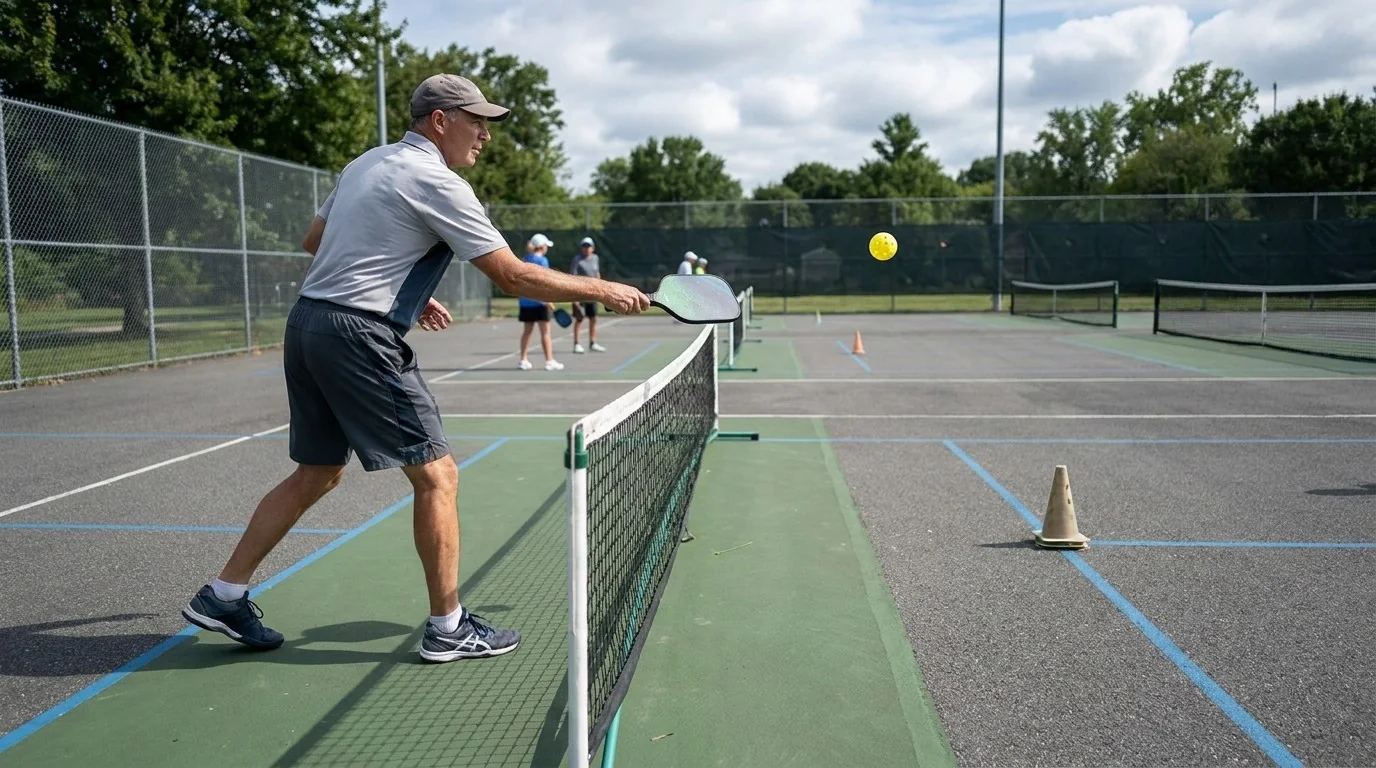
A practical guide to controlling dink height, net clearance, landing depth, paddle angle, and recovery in pickleball soft-game rallies.
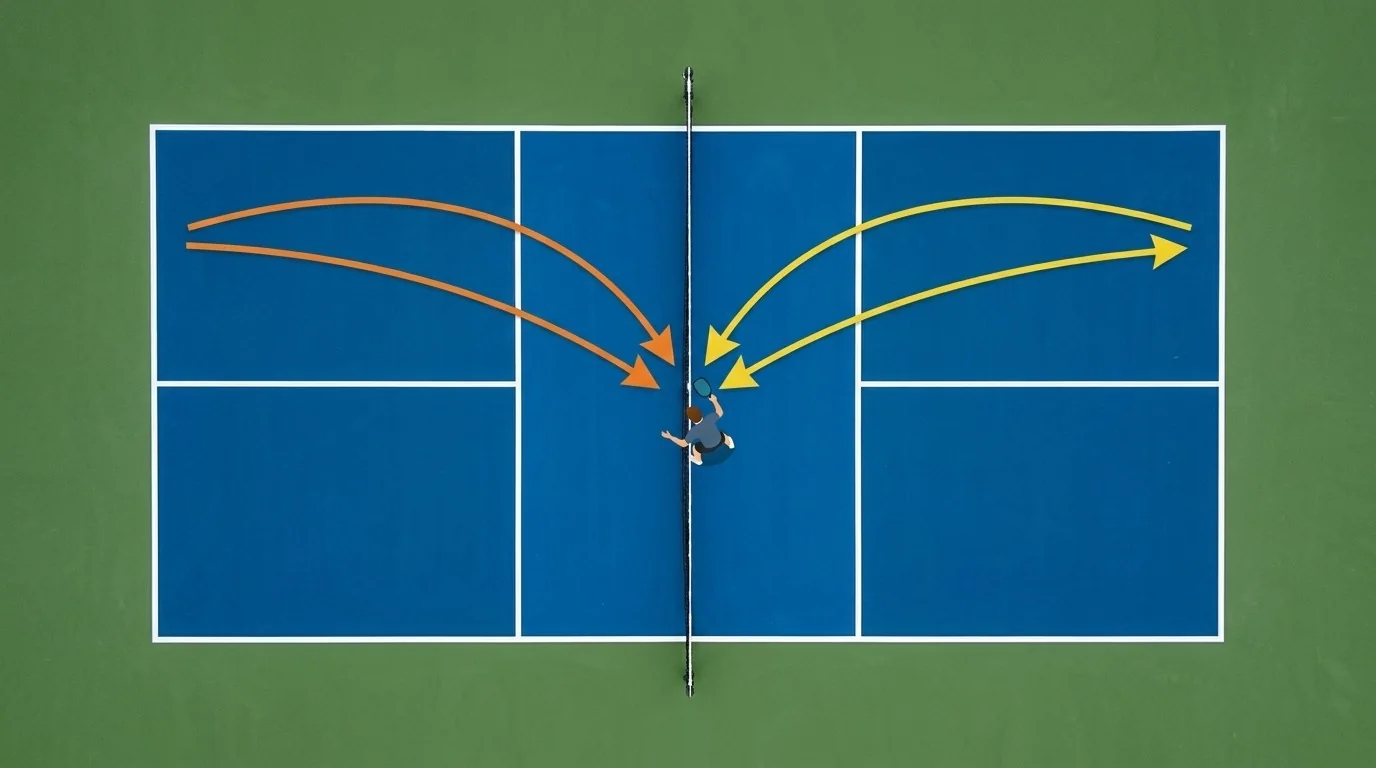
A practical guide to pickleball serve placement: build depth, choose backhand or body targets, vary direction, and recover ready for the return.
A practical guide to split steps, small adjustment steps, balanced contact, kitchen movement, and recovery.
Build a reliable pickleball drop shot with balanced contact, enough net margin, practical targets, troubleshooting, and drills that progress from simple feeds to pressure.